Caps lock is an essential key in the keyboard for many users. When caps lock is enabled, every letter that is typed becomes capitalized. However, you can also type capitalized letters by typing letters while holding the Shift key.
Some users prefer the later method for typing as it can become a hassle to turn the caps lock on and off to write a single capitalized letter. If you don’t use the caps lock key, you can disable it. In this article we have discussed how you can disable caps lock on Windows 10.
Also, check out this article on what to do when your keyboard doesn’t work on Windows 10.
Disable Caps Lock On Windows 10 Easily
There is actually no option in Windows 10 that disables caps lock or any other keyboard key. But it is permitted to change the key mapping for your keyboards in the Registry. So, you can remap the caps lock key to a key that is not present in your keyboard. This way caps lock will be disabled, as there will be no keys in your keyboard to activate it.
To remap the caps lock key to a missing key using the registry, follow the steps given below:
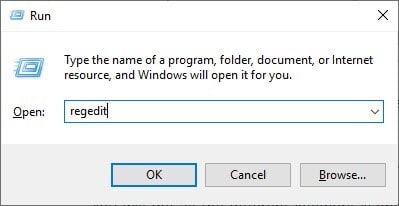
- Open the Run utility by pressing the Windows + R keys.
- Type regedit and press Enter to open the Registry Editor on your screen.
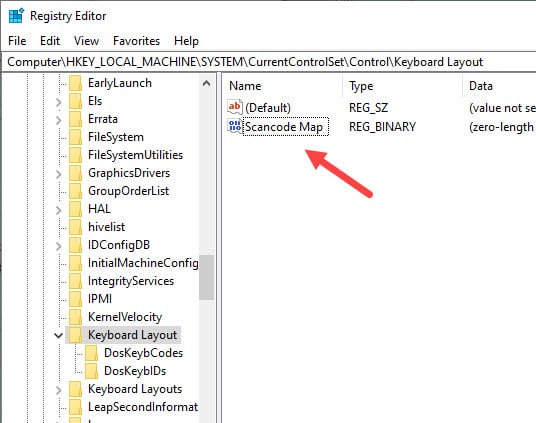
- Go to the following registry key (just copy and paste it the registry location bar):
HKEY_LOCAL_MACHINE\SYSTEM\CurrentControlSet\Control\Keyboard Layout - Now on the right panel, right-click on the empty area and select the New option.
- Click on the Binary Value option from the pop-up menu and name it Scancode Map.
If a Binary Value named Scancode Map is already present, then right-click on it and select the Modify option.
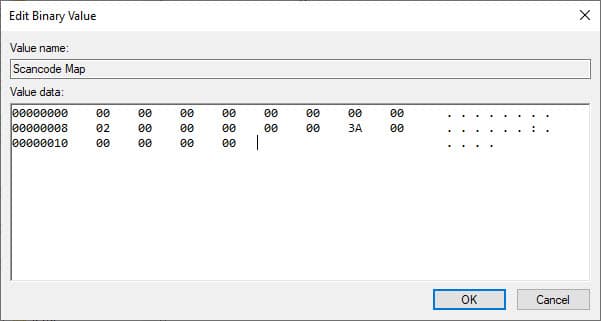
- Enter the following value in the Value data section:
00,00,00,00,00,00,00,00,02,00,00,00,00,00,3A,00,00,00,00,00
- Select the OK option to save the changes.
- Finally, restart the computer.
After the computer restarts, the caps lock key won’t work anymore. If after disabling the caps lock you want it back, then delete the Scancode Map Binary value that you created.
Now, you would probably like to know how it happened. The value we entered in the Scancode Map was 00,00,00,00,00,00,00,00,02,00,00,00,00,00,3A,00,00,00,00,00, which disabled the caps lock.
The section of 02 means the number of keys to remap + 1 and the value 3A is the caps lock key. The 00,00 that came before it represents the new key Caps lock is being mapped to. This basically disables the caps lock in this situation.
Wrapping Up
So, there you have it. Now you know how to disable caps lock on Windows 10. Follow the above steps carefully, especially while entering the value of the Scancode Map Binary value. Leave your comments below sharing your thought on this article.
Thank You!