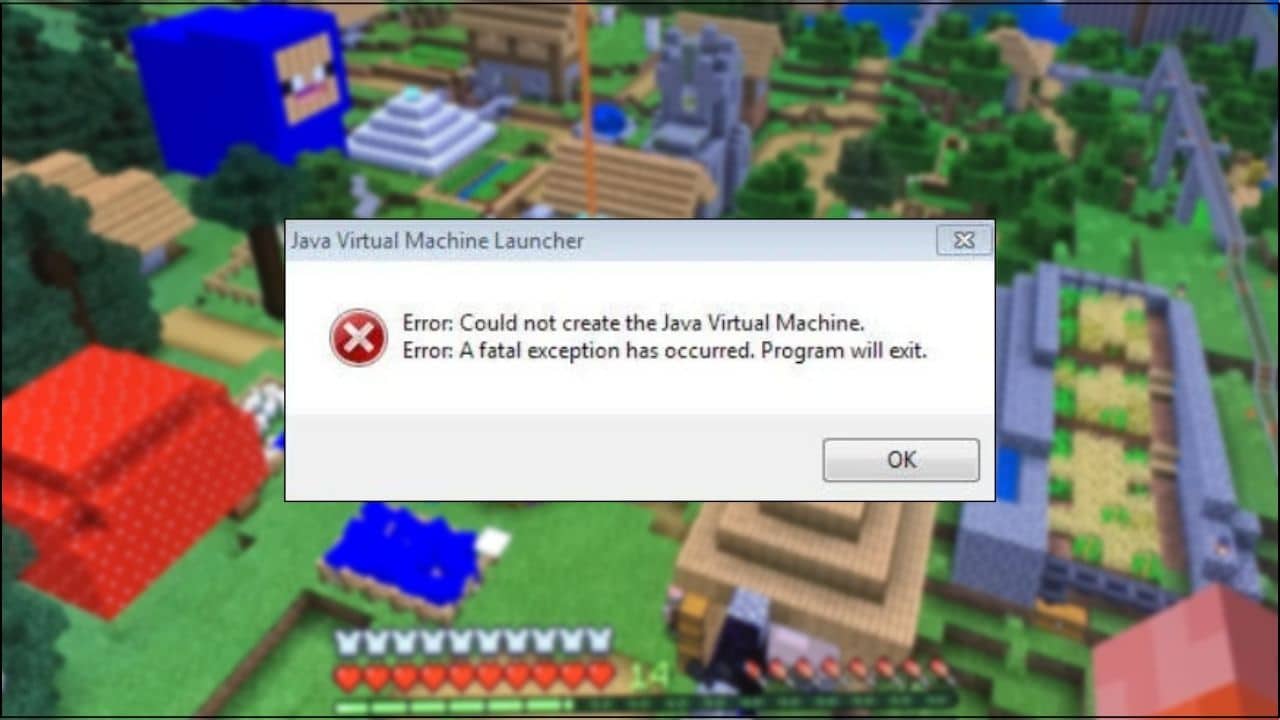
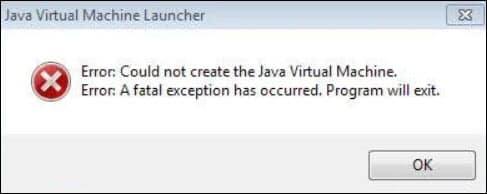
Minecraft requires Java to run. If the Java files are corrupted during installation or crash while running, then you can get the Java Virtual Machine error.
Here I have discussed how to fix the Minecraft Java Virtual Machine error, so follow as shown to easily fix this error.
Also read: How To Fix Minecraft Launcher Error Code 0x803f8001 [SOLVED]
How To Fix Could Not Create The Java Virtual Machine Minecraft Error?
Contents
Perform as shown in the following solutions to easily fix the could not create the Java Virtual Machine Minecraft error.
1. New System Java Variable
If the in-built RAM could not support the Java function, then allocate maximum RAM to the Java application to support them.
To do so, follow the steps given below:
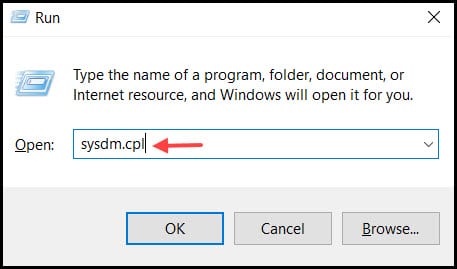
- Press Windows + R keys to open the Run utility.
- Type sysdm.cpl in the dialog box and hit the Enter key.
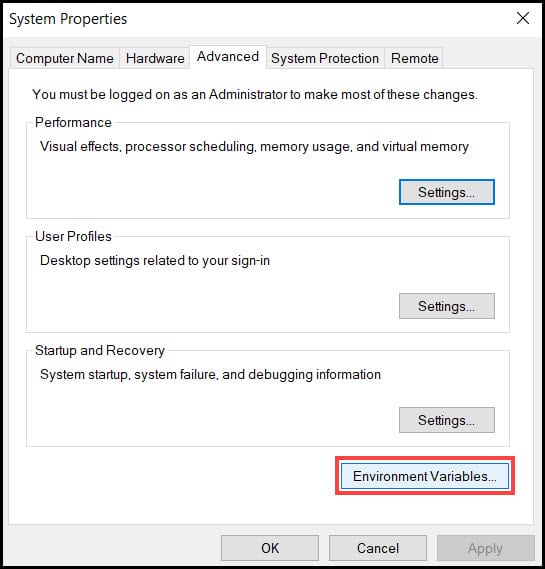
- After the System properties Window opens, click on the Advanced tab.
- Select the Environmental Variables option.
- Select the New option under the System variables box.
- Enter the _JAVA_OPTIONS in the variables box.
- Enter –Xmx512M on the Variable value box, to increase RAM allocation to 512 Mb.
The number sets the memory space that you want to allocate. Use M for megabytes and G for gigabytes.
- Select Ok to close the window.
- Finally, click on Ok under Environmental Window.
Now, check if the problem is fixed otherwise, go to the next solution.
2. Run Java As Administrator
You can also try running Java as administrator when you get Java virtual machine Minecraft error.
To do so, follow the given steps:
- Type Java on the Windows search bar and right-click on the first displayed option.
- Select the Open file location option.
- After the root folder opens, right-click on the Java executable and select the Properties option.
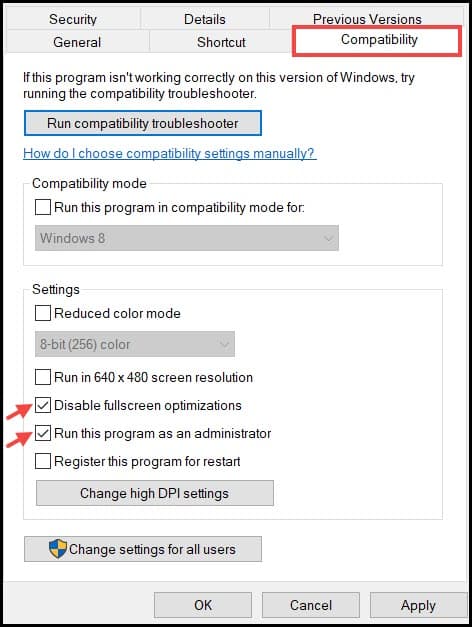
- Go to the Compatibility tab.
- Check the box for Run this program as an administrator option.
- Finally, click on Ok followed by Apply to save the changes.
3. Reinstall Java
If you still get the same Minecraft error, try reinstalling Java. To reinstall Java, follow the steps given below:
- Press Windows + R to open the Run utility.
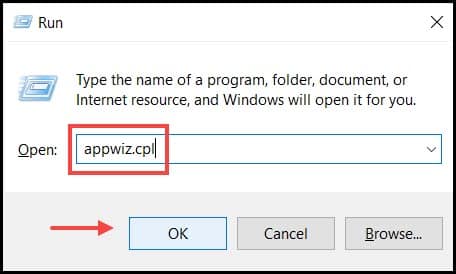
- Type or copy-paste appwiz.cpl in the dialog box and hit the Enter key.
- From the list of the installed applications, find Java.
- Right-click on it and select the Uninstall.
Follow the on-screen instructions to complete the process and restart the PC.
Visit the official Java site and download the latest version of Java. Make sure to select the same system architecture (32-bit and 64-bit) that you are using.
- After downloading the file, double-click on the setup exe and select the install button to initiate the installation process.
Follow the on-screen instructions to complete the process and restart the PC.
Frequently Asked Questions [FAQs]
1. How Do I Fix Resolve Could Not Create Java Virtual Machine?
To resolve the couldn’t create Java virtual machine error, simply uninstall and then reinstall Java.
2. How Do I Give Java More RAM?
To allocate more RAM to Java – open the system properties and then go to the Environmental variables under Advanced tab, enter _JAVA_OPTIONS and then Xmx512M to allocate extra 512 MB RAM to Java.
3. How Do I Fix Java Errors?
There are multiple ways to fix the Java errors – uninstall and reinstall the Java, install the latest one, temporarily turn off firewall and antivirus.
Final Words
So, there you have it. Now you know how to bypass the virtual Java machine error in Minecraft.
If you still have questions regarding this topic, ask us in the comments section provided below.
pra quem tá com o javaw do jdk16 como executavel do mine, só trocar pro javaw da pasta bin do java 8
diretorio:
C:\Program Files\Java\jre1.8.0_351\bin\javaw.exe
C:\Program Files\Java\jdk-16.0.1\bin\javaw.exe