While trying to access a web page, you can suddenly encounter the ‘Remote device won’t accept the connection’ error.
The error mostly occurs due to improper network settings configuration.
Windows users encounter problems connecting to remote devices, but this problem can be fixed easily.
If you have encountered the same error, read through this column to know the solutions to fix it.
What To Do If The Remote Device Won’t Accept The Connection?
Contents
Here are the solutions if the remote device won’t accept the connection.
Follow the methods and perform the steps to connect with the remote device.
1) Disable Proxy Settings
If you use proxy settings, you can have a problem setting a connection with the remote device.
Sometimes, the proxy setting implemented in workplaces or institutions only allows full internet access.
So, try disabling the proxy server and check if this can fix the problem.
Follow these steps to disable the proxy server:
- Type Internet Options in the Windows Start Menu and select the top option.
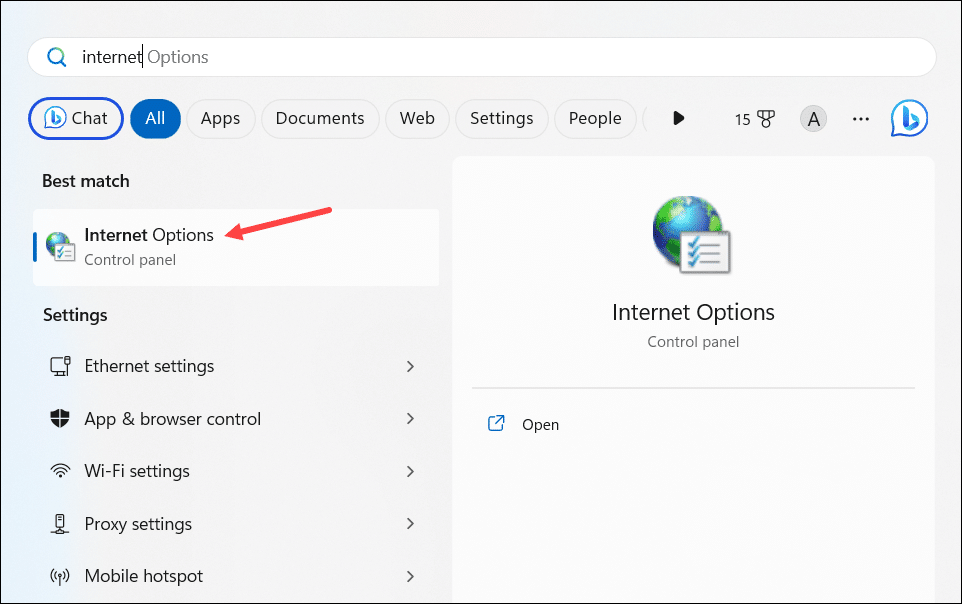
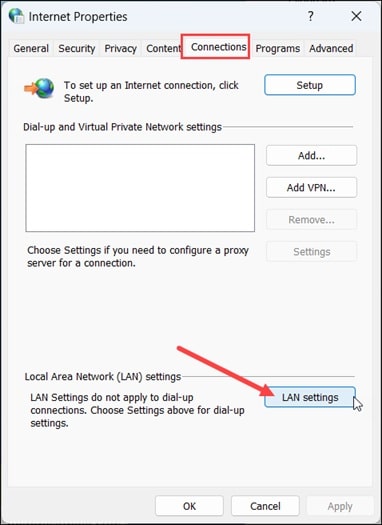
- From the Internet Properties window, select Connections tab > LAN Settings.
- Head to the Proxy Server section and uncheck the box next to Use proxy servers for your LAN.
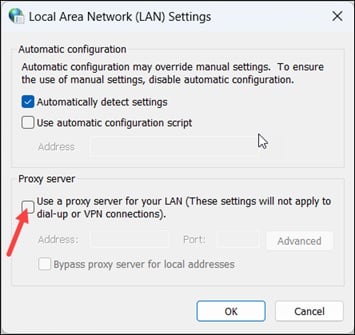
- Press OK twice to apply the changes. Windows should automatically detect the network’s proxy settings.
- Check if this could fix the problem or troubleshoot the network adapters.
2) Run The Network Adapters Troubleshooter
Internet Connectivity issues can be fixed by troubleshooting the network adapters.
So, when your remote device is not accepting the connection to Windows, follow these steps to update and reinstall the network adapter drivers:
- Press Win + I keys to open Windows Settings.
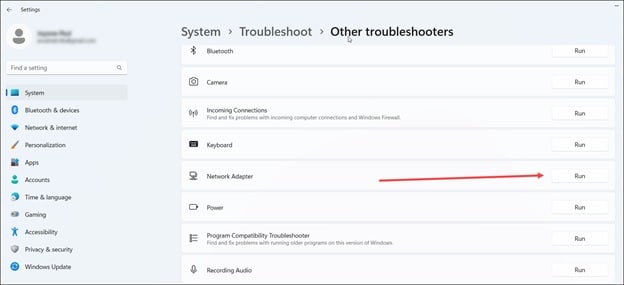
- Select System>Troubleshoot.

- Next, select the Other Troubleshooters option.
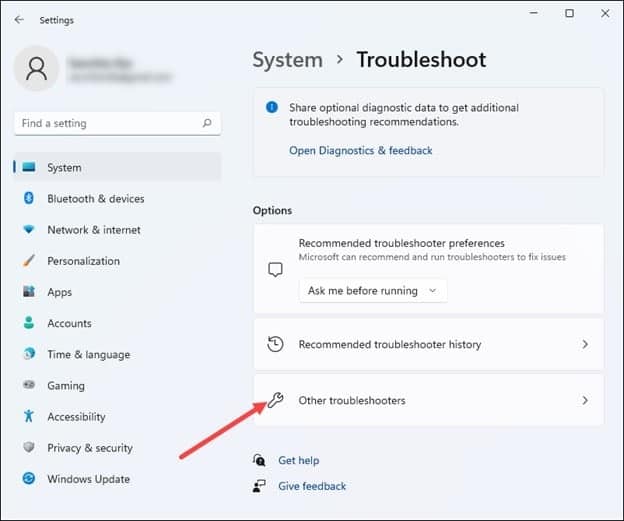
- Find Network Adapter and run the troubleshooter.
3) Reset Network Settings
If the Network settings are misconfigured, you can also have difficulty establishing a connection with the remote device.
To fix the problem, reset the network settings following the steps given below:
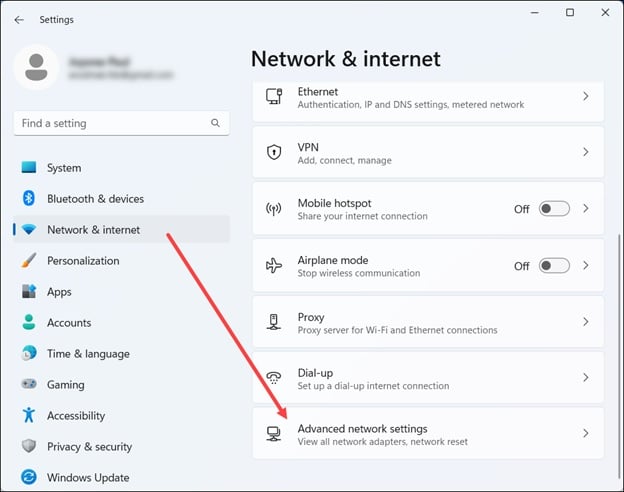
- Open Windows Settings and select Network & Internet > Advanced network settings.
- Next, click on the Network Reset option.
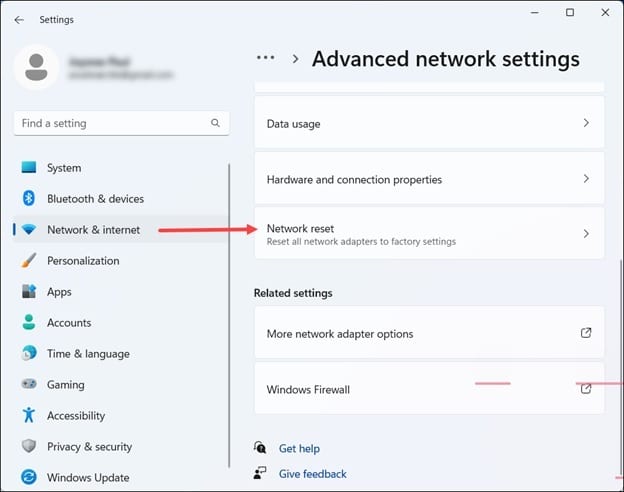
- Click on the Reset Now button, and at the confirmation screen, select “Yes“.

Restart your PC and check if this could fix the error once it restarts. If not, then update the group policies.
4) Update The Group Policies
If you have made any changes to the group policies, it can take a long time to show the effect.
This can cause issues while connecting to remote devices. Command Prompt can expedite the process and force update the group policies. This should help fix the problem.
Follow this process to do so:
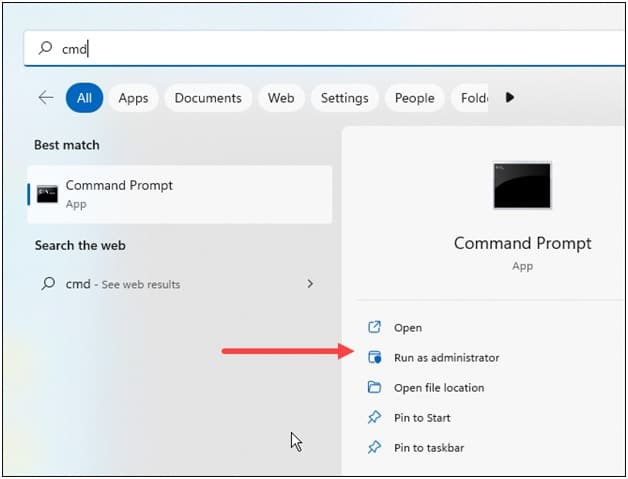
- Type CMD in Windows. Select Command Prompt and choose to Run it as administrator.
- Copy & paste this command in the Command Prompt window and press Enter:
gpupdate /force
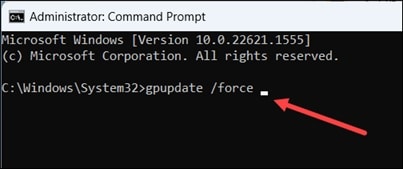
- Once the group policies get updated, restart your PC.
Check if the problem is fixed. If not, flush DNS and reset Winsock.
5) Flush DNS and Reset Winsock
Flushing DNS clears the IP addresses & DNS records from the cache.
This cache sometimes becomes corrupted and cause connectivity issues with remote devices.
So, clear the DNS and reset Winsock to and see if this can fix the problem:
- Open an elevated Command Prompt window.
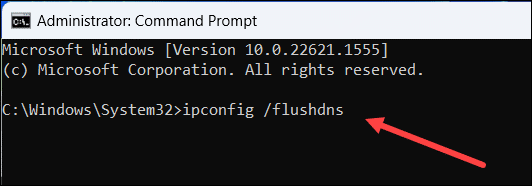
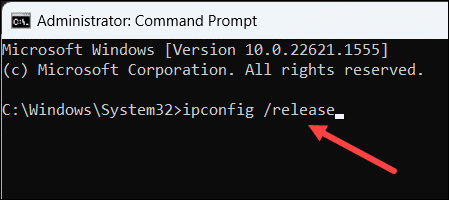
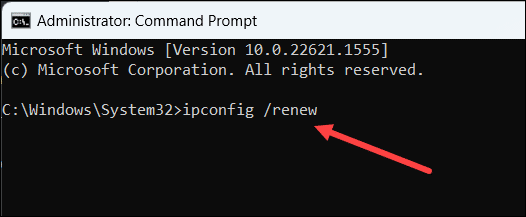
- Copy & paste the following commands, one at a time in the elevated Command Prompt window and hit Enter after each command:
ipconfig /flushdns
ipconfig /release
ipconfig /renew
netsh int ip reset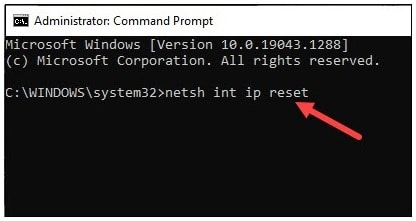
netsh winsock reset
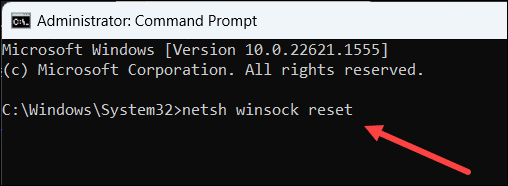
Once done, close the Command Prompt window. Check if you can connect to the remote device now. If not, then reset the affected web browser.
6) Reset The Affected Web Browser
If a remote device or resource does not accept a connection on a particular web browser, you can reset it. This can fix the problem.
Here is how to reset Google Chrome:
- Open Google Chrome. Type and paste the following path in the Chrome address bar & hit Enter.
chrome://settings/reset
- Next, select Restore Settings to their original default remote device won’t accept the connection error option.
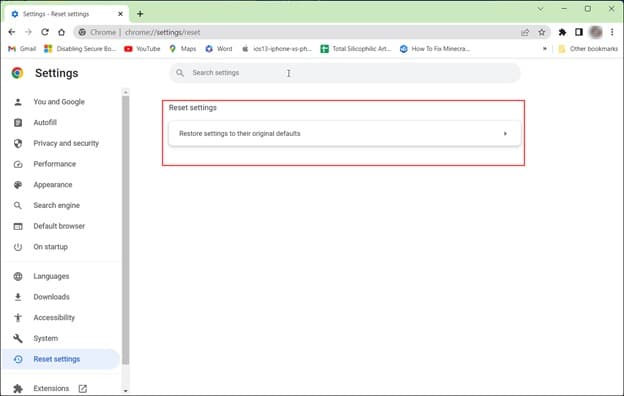
- From the next prompt, click on the Reset Settings button.
If the problem persists after performing the above steps, disable Firewall or antivirus.
7) Disable Firewall
The Firewall protection may sometimes interfere with the connections.
So, when the remote device cannot establish a connection, disable Windows Firewall Protection temporarily and see if this can fix the issue.
Follow the steps to disable Windows Defender Firewall:
- Type Windows Defender Firewall in the Windows search menu.
- Click on Turn Windows Defender Firewall on or off.
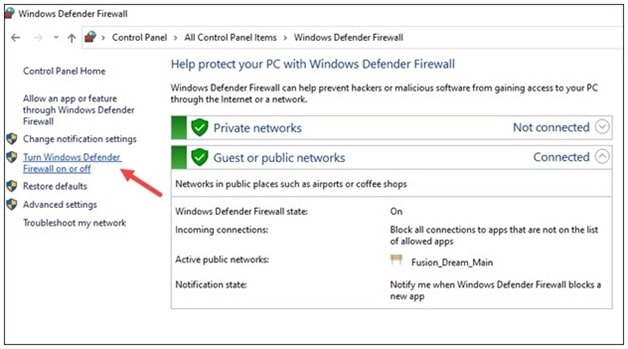
- Then click on the buttons for Turn off Windows Defender Firewall (not recommended option).
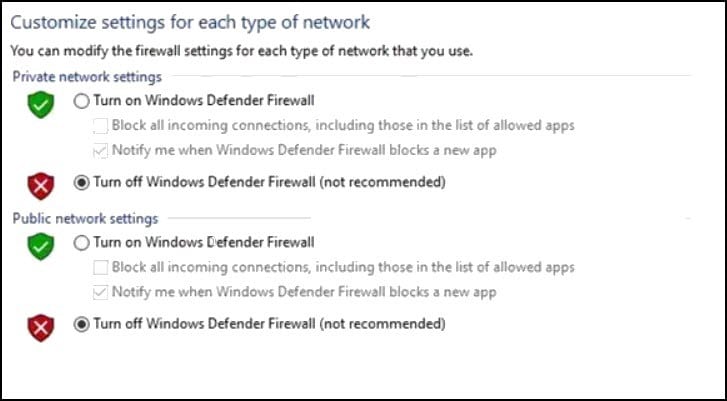
- Make sure you do this for both Private and Public network settings.
- If you have any other antivirus installed on your PC, disable that too.
As your System is vulnerable to viruses and malicious threats without them, ensure you enable the Firewall and antivirus soon after finishing your work.
Frequently Asked Questions [FAQs]
- Why am I unable to connect to a remote VPN?
If the network settings are misconfigured, then you can have a problem connecting to a remote VPN. By resetting the network connections and changing the server settings, you can fix the problem.
- What is meant by Remote device IP address?
The remote device IP address means the IP address of the remote computer over RDP.
- How to connect to a remote IP address?
To connect to a remote IP address, type mstsc in the Run command box and press Enter. Click on Show Options.
Next, type the name of the computer and the IP address. Next click on the Connect button, and you are done.
Wrap Up
The above methods should help when the remote device doesn’t accept the connection.
If you have further doubts or queries, ask us in the comments section below, and we shall revert soon with answers.
Leave a Reply