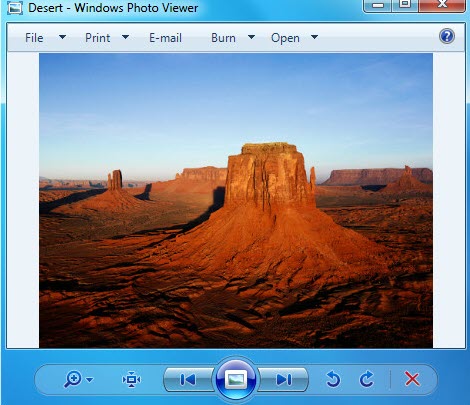
Everyone who has used Windows 7 and 8 remembers the old Windows Photo Viewer. The Windows Photo Viewer was the default app to view photos is Windows 7 and 8. In Windows 10, the new Photos app was made the default photo viewer. The Photos app has many features, like being able to instantly edit your photos, that Windows Photo Viewer lacked.

However, some users still want to use Windows Photo Viewer over the new Photos app in Windows 10. For these users, in this article we have discussed how to get Windows Photo Viewer back in Windows 10.
Also, check out this article on 6 best photo editing software for Windows 10.
How To Get Windows Photo Viewer Back In Windows 10?
Contents
To get the classic Windows Photo Viewer back in Windows 10, you can try the 2 methods that we have discussed below. Read and execute them carefully and you should get the get Windows Photo Viewer back.
If You Have Upgraded From Windows 7 Or 8
If you have upgraded from Windows 7 or 8 to Windows 10, then it is going to be easy for you to set the Windows Photo Viewer as the default photo viewer. To do it, follow the steps given below:
- Right-click on the Windows key in the taskbar and select the Settings option from the pop-up menu.
- After the Settings app opens, click on the Apps option, and then select the Default apps option.
- Locate the Photo viewer section and click on the app set as the default photo viewer.
- Select the Windows Photo Viewer option.
Now you are all set. Open any image file and it will open in the old Windows Photo Viewer.
If You Have Directly Installed Windows 10
Windows Photo Viewer is a little harder to get if you have installed Windows 10 from scratch and not upgraded it from a previous version. This is because Windows 10 doesn’t include the registry keys to set Windows Photo Viewer back as the default photo viewer.
The app is still present in Windows 10, but you can’t use it. That is until you do a registry tweak. To get Windows Photos Viewer back, follow the steps given below:
- First, you need to create the Registry file to get the Windows Photo Viewer back. You can create the code by checking out this post by Edwin over on Ten Forums. He has kindly shared the code to restore Windows Photo Viewer.
- After downloading the reg file, double-click on it to merge it with the Registry (remember to create a system restore point, before editing the Registry).
- Now, follow the steps mentioned above in the earlier header.
Download Windows Photo Viewer
If the above methods are too hard for you, you can try this easier alternative. There are many apps on the internet that are made to work like the Windows Photo Viewer. You can download and use them instead of doing all those steps that we have mentioned above.
However, you won’t be using the actual Windows Photo Viewer but just a copy. Of course, it can still provide the experience that you were looking for.
Wrapping Up
So, there you have it. Now you know how to get Windows Photo Viewer back in Windows 10. If you have any further questions regarding this topic, then feel free to ask them in the comment section below.
Leave a Reply