Windows 10 users can set a default audio device for all apps to use. This feature is useful if you only want to use one audio device for all apps. However, sometimes Windows can set a different default audio device than the one you want.
Fortunately, you can change the default audio device manually. In this article, I have discussed how to set default audio device on Windows 10.
Also, check out:
How To Set Default Audio Device On Windows 10?
Contents
There are various methods you can use to change the audio device in Windows 10. You can change the default output device from the sound flyout menu in the taskbar. Other ways to change the audio device is from the Settings app and the Control Panel. I have mentioned all these methods below, try the one that suits you best.
Change The Audio Output Device Using The Flyout Sound Menu
If you want to change the audio output device only, then the easiest way to do it is by using the flyout sound menu. This new menu in the Taskbar notification tray allows users to quickly change between output audio devices.
To change the audio device on Windows 10 using the flyout sound menu, follow the steps given below:
- Click on the speaker icon in the Taskbar. The flyout sound menu will pop up.
- Select the menu above the volume slider and click on the audio output device that you want to use.

Now, the PC will use the output audio device you have set for all apps.
Change Audio Device Windows 10 From The Settings App
Using the above method, you can easily change the default output audio device but not the input audio device. This method and the following method allow you to set the default audio device, both output, and input, on Windows 10.
In Windows 10 set default audio device from the Settings app easily with the following steps:
- Right-click on the start button and select the Settings option from the pop-up menu.
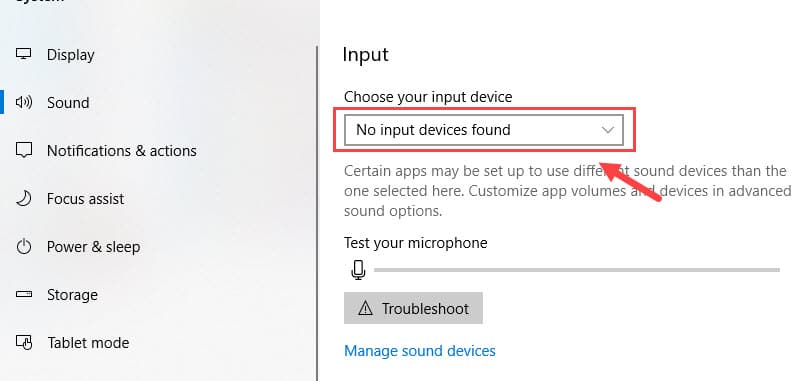
- Next, click on System and then on Sound.
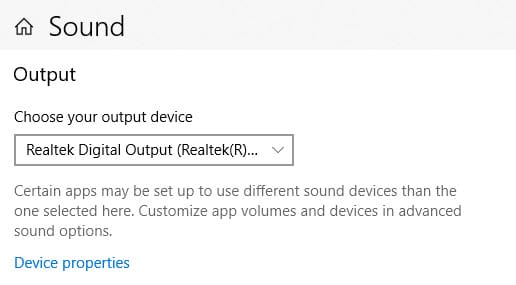
- To change the output device, click on the Choose your output device menu in the Output section, and select the desired device.
- If you want to change the input audio device, then click on the Choose your input device menu in the Input section.
In Windows 10 Set Default Audio Device From Control Panel
To set the default audio device from the Control Panel, follow the steps given below:
- Type Control Panel in the search bar and select the appropriate option.
- After the Control Panel opens, change the View by option to small icons.
- Now, locate and open the Sound option.
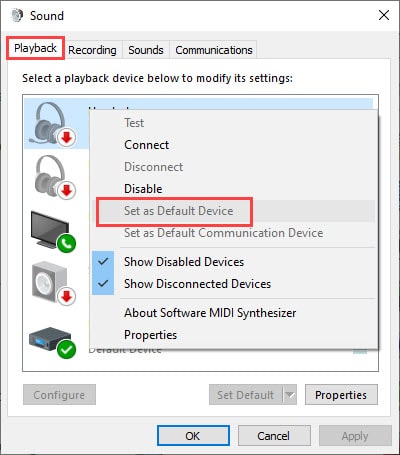
- If you want to set a playback default device, then click on the Playback tab and select the desired device. Click on the Set Default option.
Similarly, if you want to set a default input device, click on the Recording tab and set the desired device as default.
- Finally, click on Apply and OK to save the changes.
Wrapping Up
So, there you have it. Now you know how to set default audio device on Windows 10. If you have any questions related to this topic, ask them in the comment section.
Leave a Reply