If your Printer is not printing in Color, then don’t worry, as here we have shown how to solve it.
This issue can be caused by several factors, and we have discussed them here while explaining how to solve them.
How To Fix The Printer Not Printing In Color Issue?
Contents
Follow the solutions given below when your Printer is not printing in Color to fix it.
1. Adjust Color Theme
If you have selected the grayscale option in the printing settings, then your Printer will print in black & white only. This can be easily solved by changing the color settings.
Here is how you can do it:
Steps For Windows
- Launch the Print Menu by double-clicking on the Printer icon.
- Select Properties (In some printers, you will find this option as –Preferences/ Printer/ Printer Setup/ Options) from the print window.
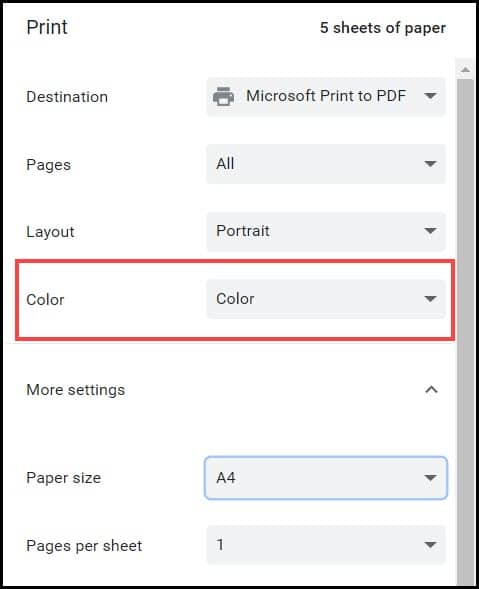
- From here, adjust the print quality. Choose the Draft, Normal, or Best to improve printing quality.Make sure to deselect the Grayscale (black-white) option.
Steps For MacOS
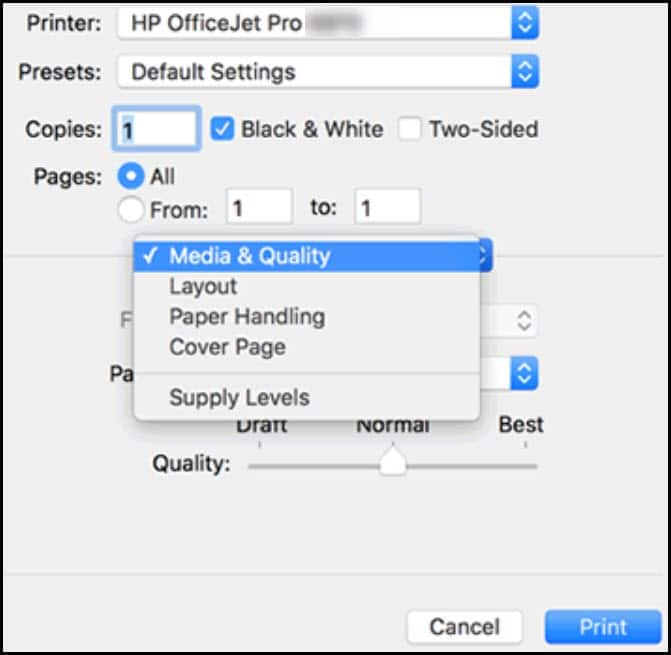
- Open a document or photo from your Mac device which you want to print.
- Click on File and select This will open the Print window.
- Select Media & Quality or Paper Type/Quality. You can increase the printing quality from the Quality field.
Close the window and try a test printing. If the Printer is still printing in only black, check the ink level.
2. Check The Ink Level
If the ink cartridges are empty or the ink level is low, then the Printer won’t print in colors and will instead only print with black.
So, check the ink level and see how much ink is remaining in the ink cartridges.
To check your HP printer ink levels, follow the steps below:
A. If you using HP touch screen control laser printers then:
- Tap on the Printer’s Reports
- Select Supplies Status.
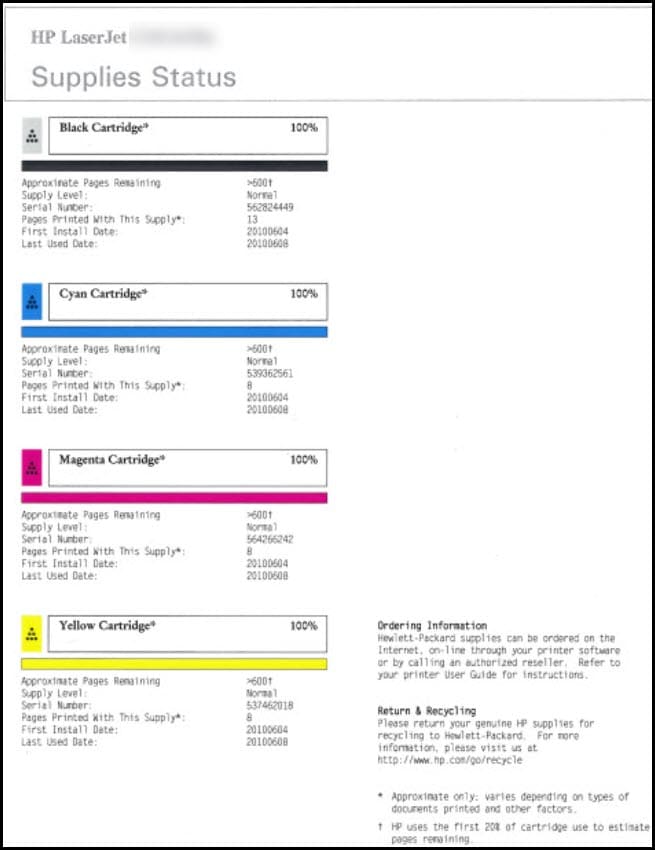
B. If you are using HP LCD control panels laser printers, then follow these steps:
- Press the Setup button from the Printer.
- Select Reports and choose the Supplies status button.
- Tap on the Print Supplies status page.
- Finally, select OK.
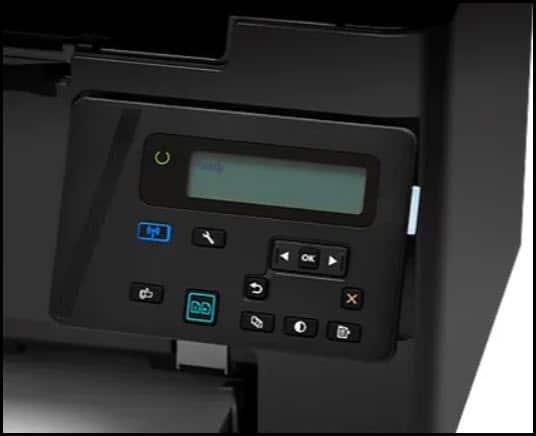
C. HP inkjet Printer’s users just tap on the ink icon.
If you see that the ink cartridges are full but still the Printer is not printing in Color, then check the expiry date of your ink cartridges.
If they have crossed the expiry date, replace them. But make sure to buy an original product.
If the ink level is low or empty then you need to buy new cartridges. Printer inks can be quite expensive, but you do need to replace them and its always better to buy from official manufacturers.
3. Reseat And Clean The Cartridges
Sometimes the cartridges are not seated properly in it’s place and for this reason the Printer does not function. So, reseat the ink Cartridges to fix the problem.
To do so, follow the instructions given below:
- Switch Off the Printer and open the ink drawer.
- Remove the cartridges from the Printer carefully because it is very much fragile.
- Wait for some time. Gently reseat the cartridge back to its position. Switch on the Printer and check if the issue is fixed.
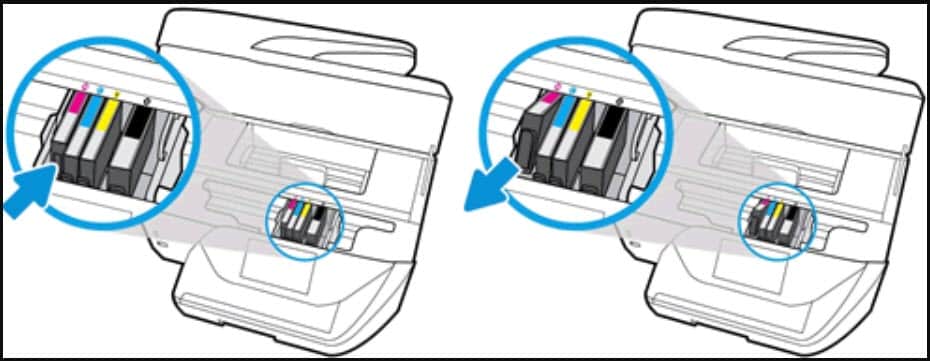
If after reseating the cartridge, you still find the Printer is not printing in colors, buy a new cartridge.
But make sure to buy an original product from the company-authorized selling store.
Sometimes, if the cartridge is dry, then it can also trigger the issue. In this case, follow the steps below:
- Hold the cartridge under running hot water or soak it into warm water to clean them.
- Dry the cartridge, roll it with a towel or tissue, and then insert it into the Printer.
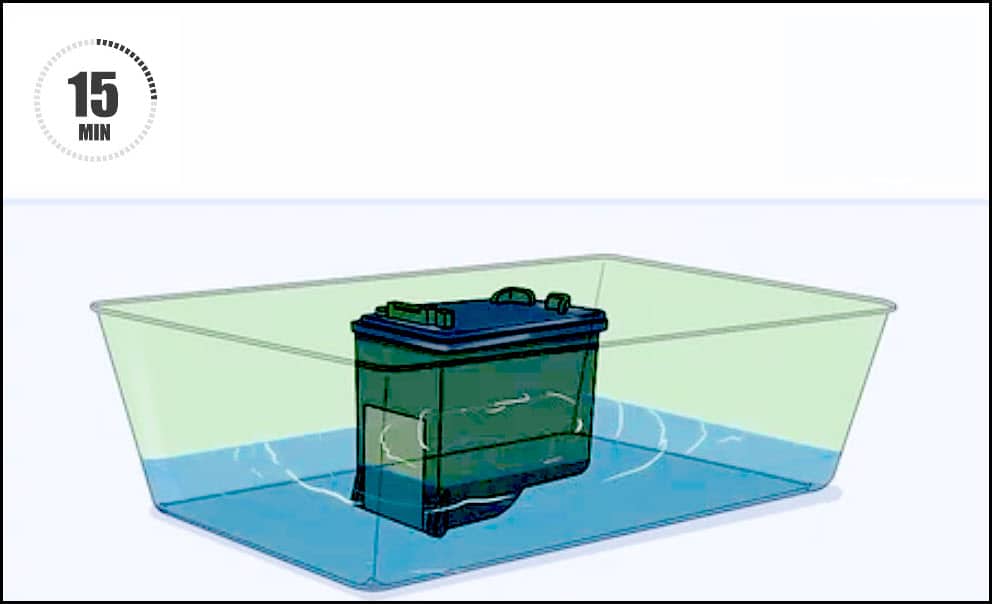
If you see that the ink cartridge is empty, then refill or replace it.
Now, switch on the device and start printing. If this does not fix the problem, run the printer troubleshooter.
4. Run Windows Printer Troubleshooter
Windows have an in-built printer troubleshooter to fix Printer-related problems.
So, run the troubleshooter following the steps given below:
- Press Windows + I to open the Settings option.
- Click on the Update & Security option from the list.
- From the left panel, select Troubleshoot option.
- Choose Additional troubleshooters from the right panel.

- Choose the problematic Printer from the list and click on the Run the Troubleshoot button.
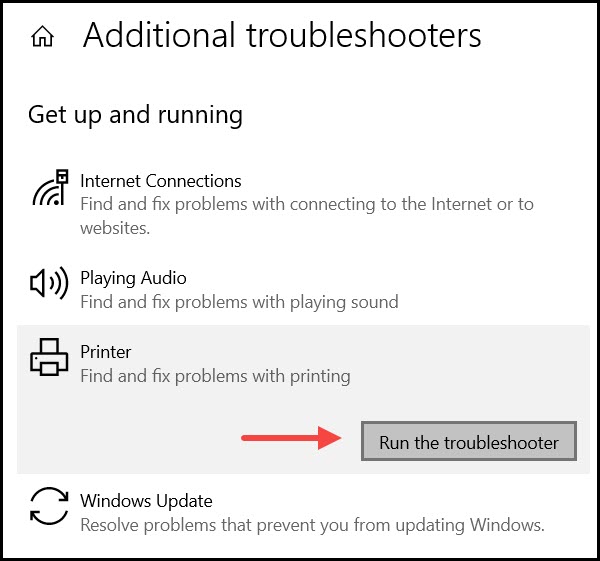
After the process completes, try a test print. If your Printer still does not print in Color, update the printer driver.
5. Update Printer Driver
An outdated printer driver can be the reason why your Printer is not printing in colors.
So, update your printer driver to the latest version to fix the problem.
Here, I have shown you to update the driver via the internet. If you have downloaded the File recently, then you can update it manually.
To do so, follow the steps given below:
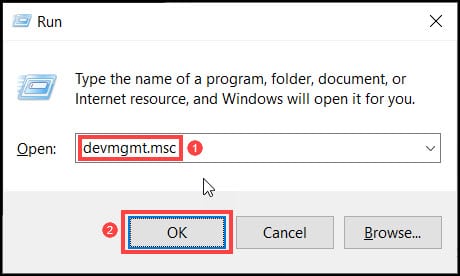
- Press Windows + R to open the Run Utility.
- Type devgmt.msc in the dialog box and press Enter to open Device Manager.
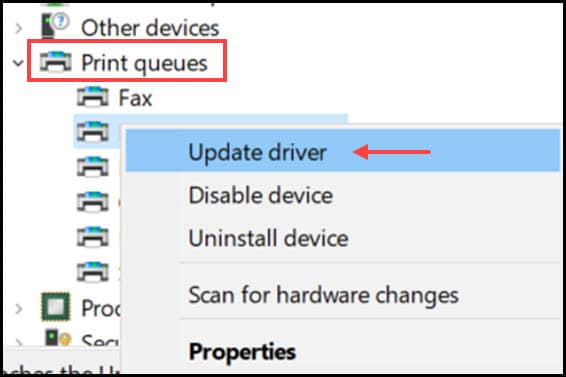
- Expand the Print queues section and right-click on the Printer’s model number. Select the Update driver option.
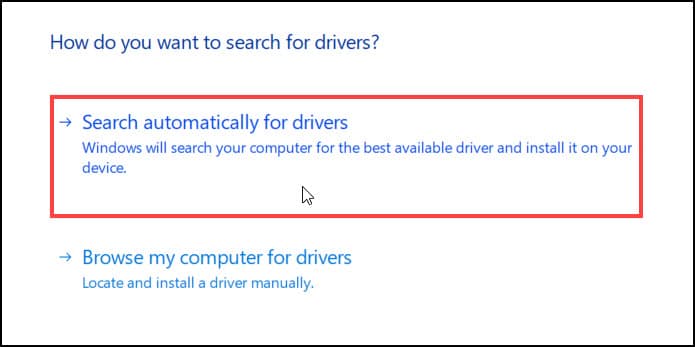
- Select Search automatically for drivers option from the next window.
Follow the on-screen instructions to complete the process. After the process completes, restart your PC and check if the issue is resolved. If not, then scan your system for the virus.
6. Scan System Files
Corrupted system files can interfere with the printing jobs and cause this issue.
Windows have this in-built System file checker to check and repair corrupted or missing system files.
Follow the instructions below to run the SFC scan:
- In the Windows search bar, type cmd.
- Select and right-click on the first displayed option. Click on Run as administrator.
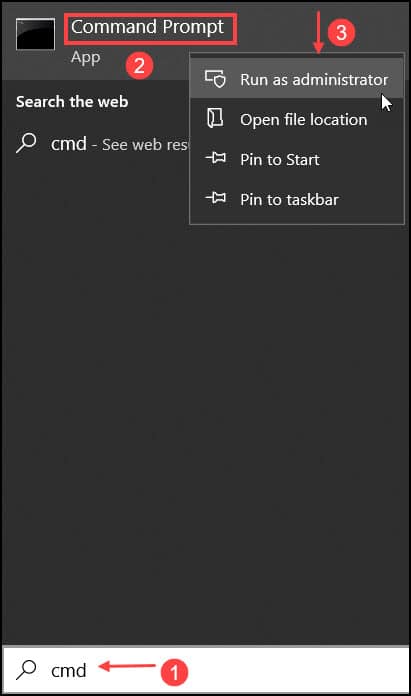
- While the elevated window opens, copy-paste the following command:
sfc /scannow
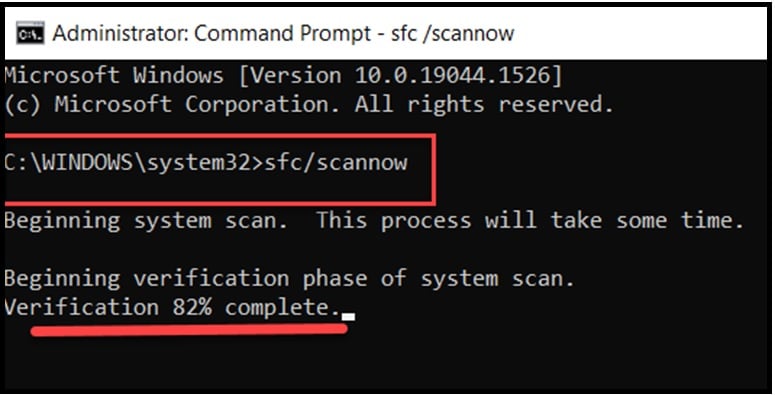
Wait until the process completes, and then restart the PC. Try a test printing, and the problem should be solved.
Final Words
So, when your Printer is not printing in color, simply perform the above solutions to fix it.
Let us know which method helped you to fix the issue.
If you still have queries, ask us in the comments section.
Leave a Reply